Have you ever wanted to bring a fierce, majestic dragon to life on paper? Drawing a dragon might seem tricky, but with the right steps, you can create your very own mythical creature—no matter your skill level.
This guide breaks down the process into simple, easy-to-follow stages that anyone can master. By the end, you’ll not only have a stunning dragon sketch but also the confidence to add your own creative touches. Ready to unlock your inner artist and make your dragon roar off the page?
Let’s get started!
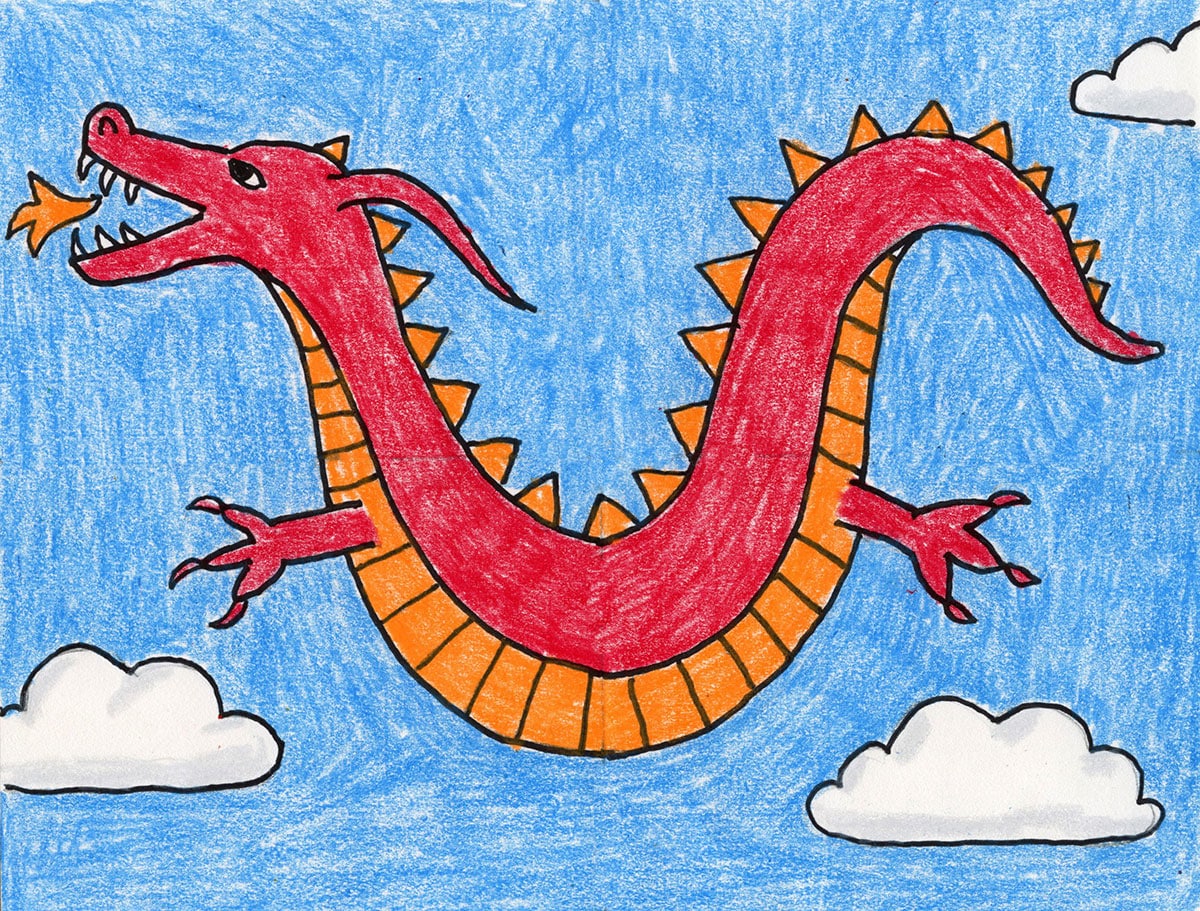
Credit: artprojectsforkids.org
Materials Needed
Drawing a dragon is an exciting art project. Having the right materials makes the process easier and more fun. This section lists all the supplies you need. It covers basic tools to start drawing and extra items for coloring your dragon.
Basic Drawing Supplies
Start with simple tools. Use pencils to sketch your dragon’s shape. A set of graphite pencils with different hardness levels works best. Hard pencils create light lines, soft ones make dark lines. Include a good eraser to fix mistakes. Sharpener keeps your pencils ready. Use smooth drawing paper for clean lines. A ruler helps draw straight parts if your dragon has armor or wings. These items form the foundation for your dragon drawing.
Optional Coloring Tools
Add colors to bring your dragon to life. Colored pencils are easy to control and blend colors well. Markers give bright, bold colors but can bleed through thin paper. Watercolors add soft, magical effects but require special paper. Crayons are great for beginners and offer rich textures. Use a blending stump or cotton swabs to smooth color transitions. Choose the coloring tools based on your style and comfort.
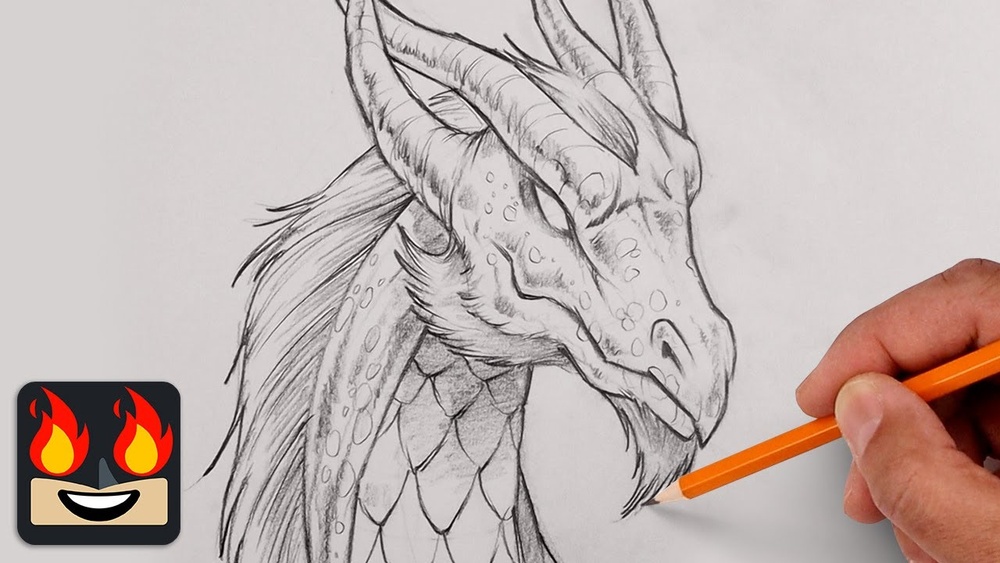
Credit: www.youtube.com
Sketching The Outline
Starting your dragon drawing with a clear outline sets a strong foundation. Sketching helps you plan the shape and size before adding details. It keeps your drawing balanced and easy to adjust.
Begin with light pencil strokes. These allow changes without leaving marks. Focus on simple shapes that represent the dragon’s body parts. This way, you create a guide to build on.
Drawing Basic Shapes
Use circles, ovals, and rectangles to form the dragon’s body. Draw a large oval for the torso. Add a circle for the head. Connect them with curved lines for the neck.
Sketch smaller ovals for the limbs. Use elongated shapes for the tail. These shapes do not have to be perfect. They help you see the dragon’s structure clearly.
Defining The Dragon’s Pose
Decide how your dragon will stand or fly. Draw a simple stick figure to show the pose. Position the limbs and tail to match the action.
Think about the dragon’s mood. Is it fierce, calm, or playful? A strong pose makes your dragon look alive. Adjust the angles of the neck and tail to fit the style.
Shaping The Head
Shaping the head is a key step in drawing a dragon. The head gives your dragon character and life. Start with simple shapes to build the structure. Focus on the main parts before adding details. This makes drawing easier and more fun.
Sketching The Facial Features
Begin by drawing an oval for the head. Add a guideline down the middle to keep features balanced. Sketch the eyes on either side of the line. Draw the nostrils near the front of the oval. Add a curved line for the mouth below the nostrils. Keep your lines light and loose. This helps with corrections later. Capture the fierce or gentle look you want in your dragon’s face.
Adding Horns And Ears
Next, add horns to the top of the head. Horns can be long, short, straight, or curved. Use simple shapes like triangles or cones for the base. Place them symmetrically to keep balance. Draw ears behind or below the horns. Dragon ears can look like spikes or fins. Use smooth or jagged lines depending on your dragon’s style. These features make your dragon look more unique and powerful.
Drawing The Body
Drawing the body is a vital step in creating a dragon sketch. The body gives your dragon shape and life. Focus on simple shapes to build a strong base. Keep your lines light to adjust as needed. Start with the main parts: neck, torso, legs, and claws. This approach helps your dragon look balanced and natural.
Forming The Neck And Torso
Begin with an elongated oval for the torso. This oval acts as the dragon’s main body. Draw a long, curved line from one end of the oval for the neck. Make the neck thick near the torso, thinner as it goes up. Use soft curves to give a smooth, flexible look. Add a small circle where the neck meets the torso for the shoulder joint. This guides the neck’s motion and connection.
Sketching The Legs And Claws
Start the legs with simple shapes like cylinders or rectangles. Place them under the torso, spaced evenly. Keep the front legs shorter and the back legs longer for balance. Draw small ovals at the ends for paws. Add sharp triangles for claws on each paw. Make claws curved to show strength and grip. Sketch lightly to allow changes and improve details later.
Designing The Wings
Designing the wings is a key step in drawing a dragon. Wings give your dragon a powerful and majestic look. They show the creature’s ability to fly and add drama to your drawing.
Focus on the shape and size of the wings. Think about how they connect to the dragon’s body. Wings should look strong but flexible. This balance makes your dragon more believable and exciting.
Wing Structure Basics
Start with the main bones of the wings. Draw a long arm bone that links to the dragon’s shoulder. Add smaller bones for fingers, which hold the wing membrane.
The wing membrane stretches between the bones like a bat’s wing. Keep the membrane smooth but slightly curved. This shows tension and movement.
Remember to keep the wings in proportion to the body. Large wings suit big dragons. Smaller wings fit smaller or younger dragons.
Adding Details To Wings
Add texture to the wings by drawing veins and folds. Veins run along the bones and show blood flow. Folds create a natural look when wings bend or fold.
Include small tears or rough edges for a worn, battle-ready look. Scales or spikes near the wing joints add extra character.
Shade parts of the wing to show depth. Darker areas go under folds and near bones. Light areas catch the sun or moonlight.
Adding Details
Adding details brings your dragon drawing to life. These details create texture and depth. They make your dragon look real and fierce. Focus on two main areas: scales and texture, and facial expressions and eyes. Each detail shapes your dragon’s personality and mood. Take your time to add these carefully.
Scales And Texture
Scales protect a dragon’s body. Draw small, overlapping shapes along the dragon’s skin. Use simple oval or diamond shapes. Vary the size to show different body parts. Larger scales on the belly, smaller on the limbs and face. Add light shading to create a 3D effect. This gives your dragon a rough, tough look.
Texture helps define the dragon’s character. Add wrinkles on the wings and around joints. Draw rough lines on the claws and tail. Use short, quick strokes for a scaly skin feel. These details make your drawing more interesting and believable.
Facial Expressions And Eyes
The face shows your dragon’s mood. Start with the eyes; they tell a story. Draw sharp, narrow eyes for a fierce look. Rounder eyes create a gentler dragon. Add small lines around the eyes for wrinkles or scales. This adds emotion and age.
Shape the mouth and nostrils carefully. A wide-open mouth with sharp teeth looks angry. A closed mouth with a slight smile looks calm. Eyebrows or ridges above the eyes change expressions. These small details help your dragon show feelings clearly.
Inking The Drawing
Inking the drawing is the step where your dragon sketch transforms into a bold artwork. It brings clarity and sharpness to the lines. This stage requires patience and a steady hand. It helps your dragon stand out with clear and clean outlines.
Careful inking highlights important details like scales, claws, and wings. It also gives your dragon a finished look. Use the right tools like fine liners or ink pens for best results.
Tracing The Final Lines
Start by tracing the main outlines of your dragon. Follow your pencil sketch carefully. Use smooth, confident strokes to avoid shaky lines. Take your time to keep the lines clean and even. Trace details like eyes, teeth, and scales last. These small parts need more focus. Let the ink dry fully before moving on.
Erasing Pencil Marks
After the ink dries, erase the pencil marks gently. Use a soft eraser to avoid smudging the ink. Remove all light sketch lines to make your dragon look neat. Be patient and erase slowly around inked areas. Clean paper shows off your ink work clearly. Your dragon drawing is now ready for coloring or shading.
Coloring Techniques
Coloring brings your dragon drawing to life. It adds depth and personality. Using the right techniques can make your dragon look fierce or friendly. Focus on choosing colors that fit your dragon’s story. Then, use shading and highlights to create a three-dimensional effect. These steps help your artwork stand out.
Choosing Color Palettes
Select colors that match your dragon’s mood and environment. Warm colors like reds and oranges create a fiery, intense look. Cool colors like blues and greens give a calm, mystical feel. Use a few main colors and some accent shades to keep it balanced. Avoid too many colors to prevent a cluttered look. Try combining natural tones with bright highlights for contrast.
Shading And Highlights
Shading adds shadows to show depth and form. Use darker shades along edges and under scales. This makes the dragon look solid and real. Highlights catch light on raised areas like the nose, wings, and claws. Use lighter colors or white for highlights. Blend shading and highlights smoothly for a natural look. This technique gives your dragon a powerful and dynamic appearance.
Tips For Realism
Creating a realistic dragon drawing takes more than imagination. It requires careful observation and practice. These tips help bring your dragon to life with believable details. Focus on anatomy and use good references to improve your art.
Studying Dragon Anatomy
Dragons are mythical but can be based on real animals. Study reptiles, birds, and mammals for structure ideas. Notice muscle shapes, joint placements, and skin textures. Think about how wings and limbs connect. Understanding anatomy helps make dragons look natural and powerful.
Using References
Gather images of animals and other dragon art. Use photos of lizards, bats, and eagles to see different body parts. Look at various styles to find what fits your vision. References guide proportions, poses, and details. They also inspire unique features while keeping your drawing believable.

Credit: dragoart.com
Common Mistakes To Avoid
Drawing a dragon can be exciting but tricky. Many beginners make simple errors that affect their art. Avoiding common mistakes helps create better dragon drawings. Focus on details and structure for a strong base.
Ignoring Basic Shapes
Dragons are complex but start with simple shapes. Use circles, ovals, and lines to plan the body. Skipping this step leads to uneven or awkward figures. Basic shapes guide the overall form and balance.
Forgetting Proportions
Correct proportions make dragons look believable. Pay attention to head size, body length, and limb placement. Wrong proportions make your dragon seem unrealistic. Measure parts in relation to each other before adding details.
Overcrowding With Details Too Soon
Adding scales, spikes, and textures early can overwhelm your drawing. Focus first on the dragon’s shape and pose. Details come last to enhance, not clutter. Build your drawing step-by-step for clarity.
Neglecting Anatomy And Movement
Dragons need a sense of life and motion. Study animal anatomy to understand muscles and joints. A stiff or unnatural pose weakens the drawing. Imagine how your dragon moves and breathe life into your art.
Using Only One Reference
Relying on a single image limits creativity. Look at many dragon drawings and real animals. Multiple references improve your understanding of shapes and textures. Blend ideas to create a unique dragon design.
Practice Exercises
Practice exercises build confidence and improve your dragon drawing skills. Regular practice helps you understand shapes, textures, and details better. Start with simple sketches, then move to complex designs. Focus on different parts of the dragon for variety. Practice makes your art more natural and expressive.
Drawing Different Dragon Styles
Try drawing dragons in various styles. Create a fierce Western dragon with large wings and sharp claws. Sketch an elegant Eastern dragon with a long, snake-like body. Experiment with cartoon dragons that have big eyes and playful shapes. Each style teaches unique drawing techniques. This variety expands your artistic range and creativity.
Experimenting With Poses
Draw dragons in different poses to capture movement and life. Sketch a dragon flying with wings spread wide. Draw a dragon curled up, resting or sleeping. Practice action poses like breathing fire or fighting. Changing poses helps you understand anatomy and balance. It makes your dragons look dynamic and interesting.
Frequently Asked Questions
How To Draw Dragon In An Easy Way?
Start by sketching a simple “S” shape for the body. Add a “V” for the mouth, then draw eyes and scales. Finish with wings and claws. Use light lines first, then darken details. Keep shapes basic and practice regularly to improve your dragon drawing skills.
How To Draw A Coatyl Dragon?
Draw a sideways “V” for the coatyl dragon’s mouth. Sketch curved lines for jaws and add details like eyes and scales. Finish with wings and tail.
How To Draw A Dragon Step By Step No Video?
Start with a sideways “V” for the mouth. Sketch crocodile-like jaws and outline the head. Add neck, body, wings, legs, and tail. Draw scales and details to finish. Use light pencil strokes and refine as you go.
How To Draw A Super Simple Face?
Start with a circle for the head. Add two dots for eyes and a curved line for a smile. Draw simple ears or hair lines. Keep shapes basic and clear. Use light strokes to adjust as needed.
Conclusion
Drawing a dragon can be fun and rewarding. Start with simple shapes to build its form. Add details slowly, focusing on the head and wings first. Practice often to improve your skills. Don’t worry about mistakes—they help you learn. Keep your lines light at the start and darken later.
Use references to inspire your design. Most importantly, enjoy the process and be patient. Dragons come in many styles, so create your own unique creature. With time, your dragon drawings will look strong and alive. Keep drawing and have fun!